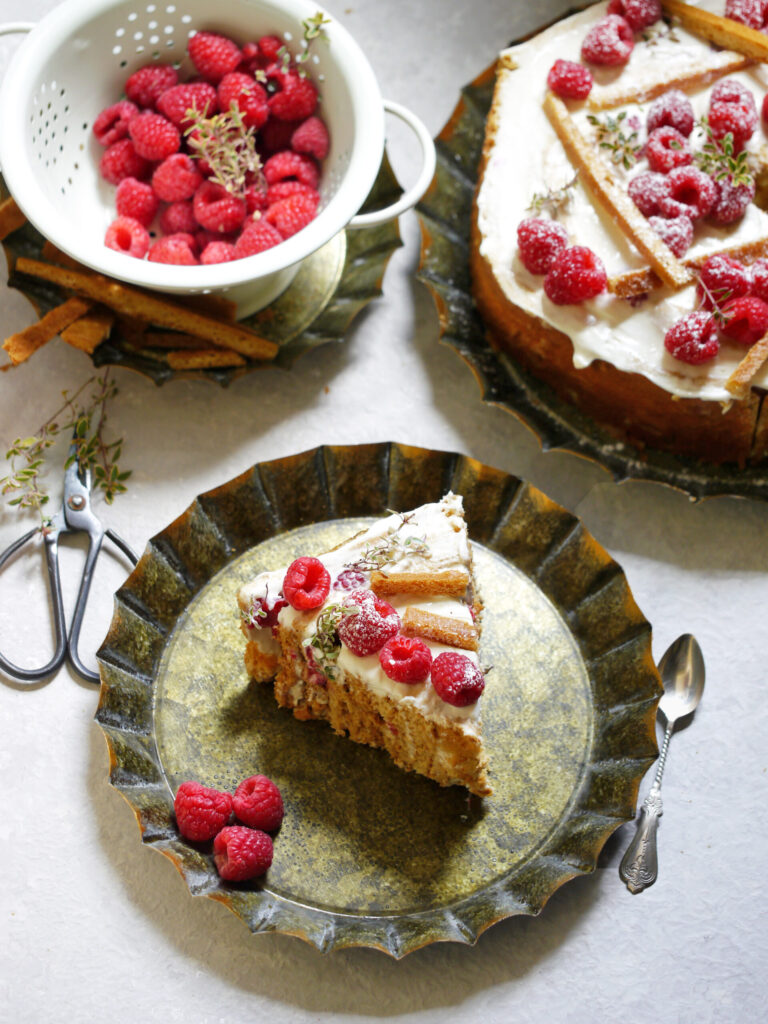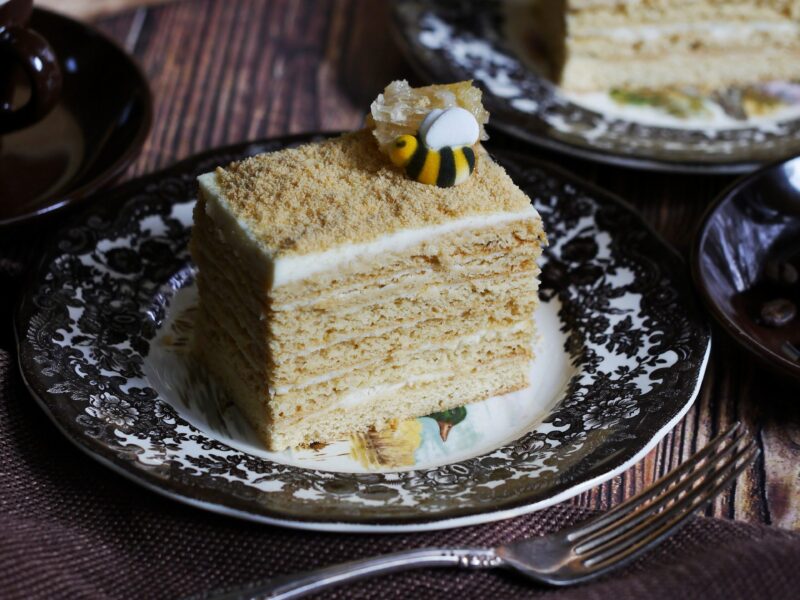
Honey cake!!! It sounds like music to my ears! This cake is the one that I can never get enough of, and frankly, anyone I know thinks the same. I grew up eating this cake often and my love for this cake grew even stronger with years. I think this cake is truly like no other, so soft and easy to devour, with a beautiful hint of honey, with a right amount of frosting that hugs each layer of the cake and makes it soft and fluffy, with a wonderful aroma and pleasant aftertaste. This cake is rich in flavor but its not overly sweet and sticky. Honey cake tastes even better with time, juts like a good wine, all you have to do is wait. And if you wait, you will get a better experience, believe my personal knowledge, I’ve made and eaten this cake bazillion times.
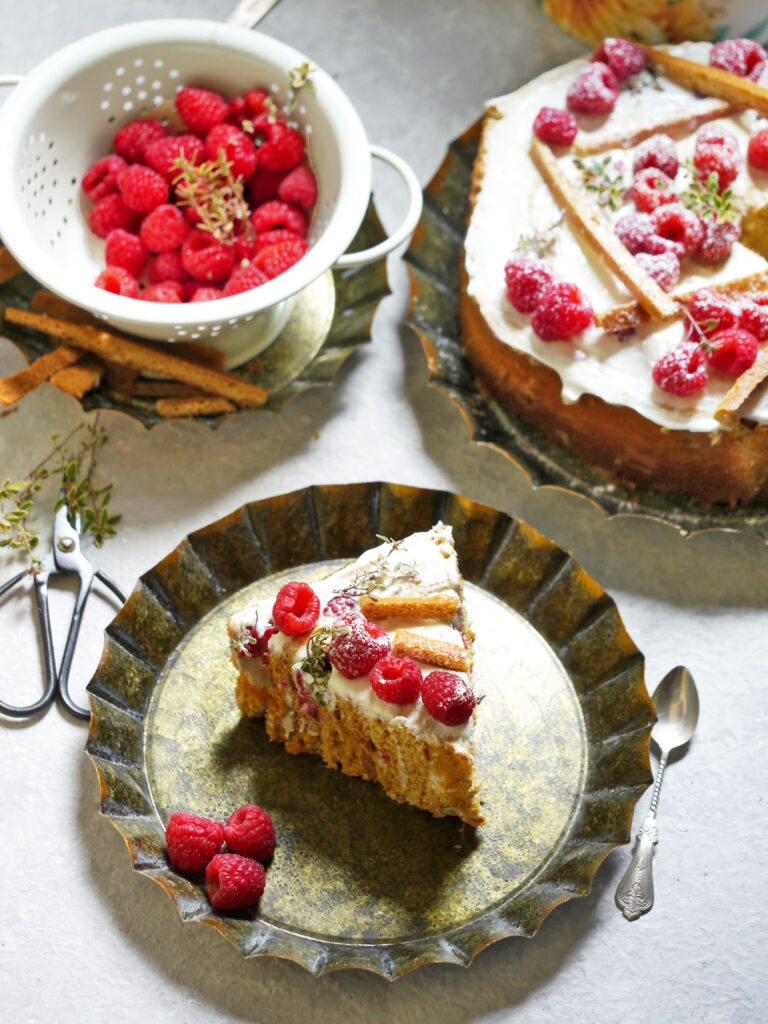
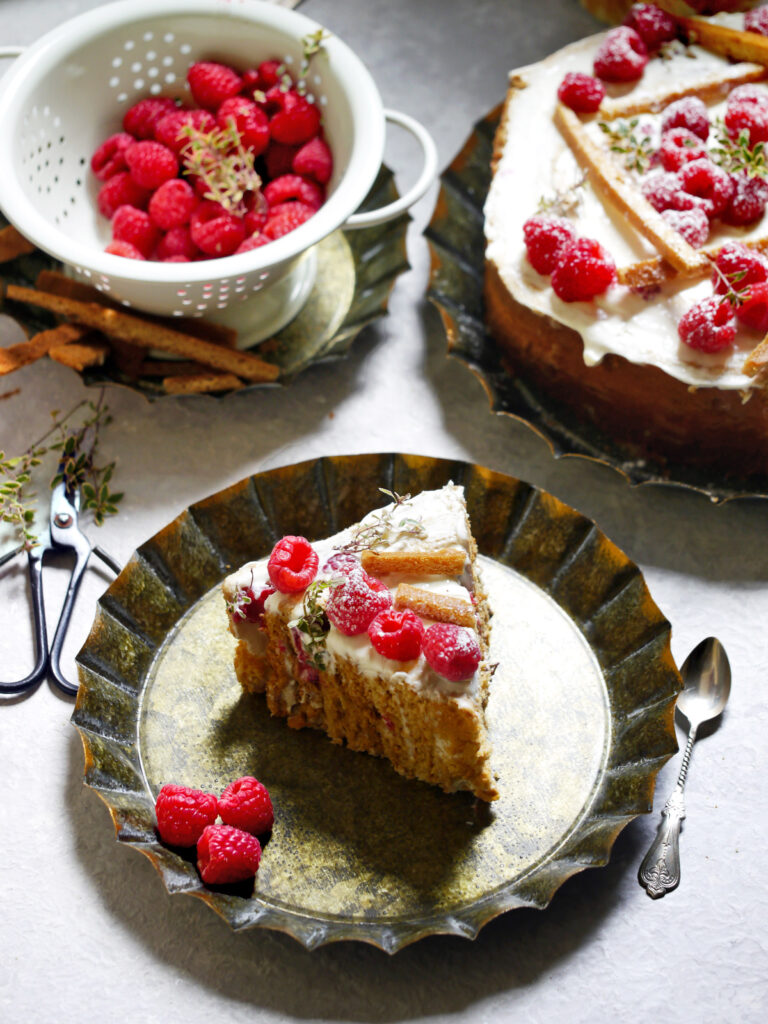
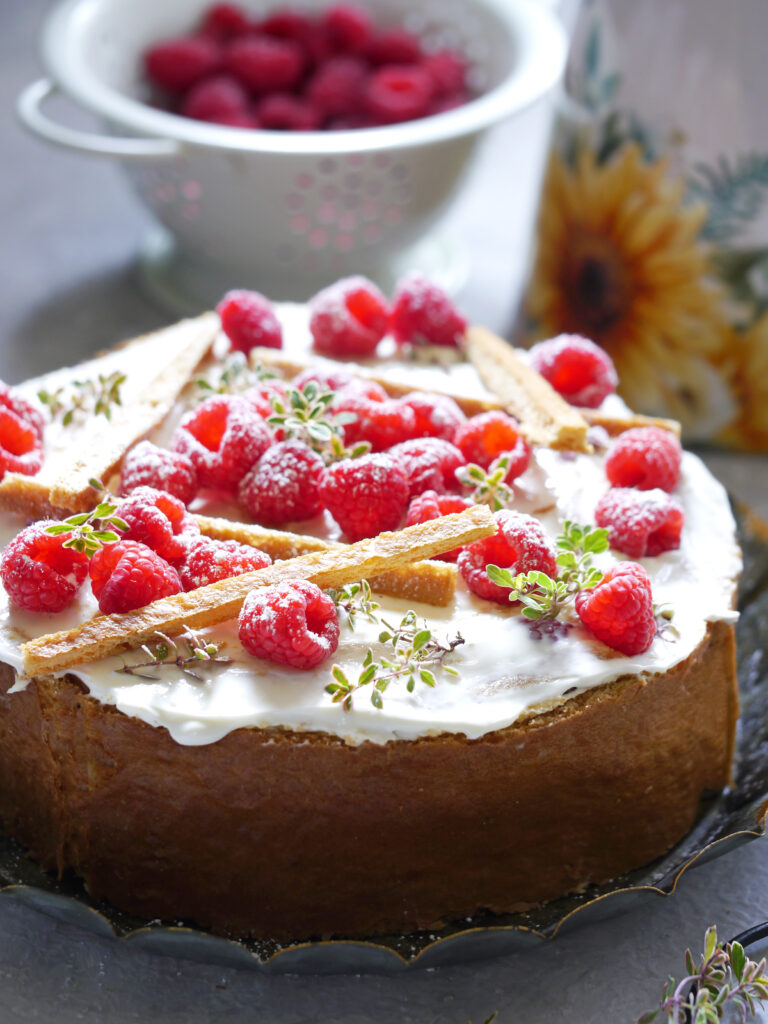
I’ve already posted my go to recipe before, and I will post it below to make it easier. This time I’ve used the same recipe, but I’ve assembled the cake different and turned it into a vertical cake.
A few tips that I want to share about the vertical cake assembly .
- For vertical assembly, bake each cake layer on a large cookie sheet, cut each sheet into 2 same strips.
2. For vertical cake assembly, I suggest to bake each cake layer for no longer than 5 minutes, it will be softer.
3. Make sure that all strips of cake are the same height.
4. Frost all strips and leave them frosted on a countertop for at least 30 minutes to soften. it would be easier to bend them and shape the cake.
5. If using berries, I suggest using firmer berries( raspberry, cranberry, strawberry) If berries are large, slice them into smaller pieces.
6. My favorite frosting is a simple sour cream frosting. I suggest using a sour cream with a fat content of at least 18%. if you don’t have sour cream, follow the recipe below and make a cream cheese frosting. I provide recipes for both types of frosting, both work really well!
Watch me assemble a vertical cake in my video below
Regardless of how you will decide to assemble this cake or which type of frosting you will choose, this cake will impress you in so many ways. This Honey cake is a labor of love but its worth all the efforts, you will make your taste buds sing!
Honey Cake aka Medovik
Notes
- Give this cake a time to rest! The hardest part is to not cut it up right away. It is very important to let this cake rest in the refrigerator overnight. This is the cake that taste so much better when rested!
- I share 2 delicious options for the frosting. Both work really well, and are a great combination. Regardless of the type of the frosting you choose, I recommend using the frosting right away.
Ingredients
- To make a cake:
- 200g (3/4 cup) softened butter
- 3 tbsp natural Honey
- 200 g (1 cup) Sugar
- 3 Eggs at room temperature
- 1 1/2 tsp Baking Soda
- 1 tsp Vanilla Extract
- 360 g (3 cup) All purpose Flour
- To make a Cream cheese frosting:
- 300 g (1 1/4 cup) softened Cream cheese
- 300g ( 1 1/4 +2tbsp) whipping cream
- 100 g powdered sugar ( or to taste)
- To make sour cream frosting:
- 800 g (3 cups) 18% Sour cream
- 200 g (1 cup) granulated sugar
- 1 tsp Vanilla extract
Instructions
- To make cake dough:
- Fill a large pot with about a quarter of water,bring water to boil.
- Beat eggs and sugar in a large heat safe bowl using a hand mixer with a whisk attachment. Beat until there’s no more sugar crystals, eggs are lighter and mixture looks thicker. Once water is boiling, reduce the heat to medium, place the heat safe bowl with egg mixture inside the large pot. Make sure that the bottom of the bowl doesn’t touch the boiling water! Add butter, honey, vanilla into the bowl with egg mixture and whisk carefully. We need to allow the mixture to warm up nicely and melt the butter . Whisk occasionally until all the ingredients are incorporated .
- When mixture is warm and all the ingredients are incorporated, add soda and whisk quickly, it should double in size and become way thicker. Add about half of the amount of flour, whisk it thoroughly and leave it for a minute or 2 to warm up. Turn off the heat and carefully remove the bowl with the dough, set aside to cool off for about 10-15 minutes . Preheat you oven to 200 degrees C (400 degrees F) Once dough is rested and cooled, add remaining flour, first mix it in with a wooden spoon and when flour is almost mixed in, transfer the dough onto a working surface and knead until the flour is fully incorporated.
- The dough should be soft, it may stick slightly to your hands, that’s ok.
- If the dough is way too sticky, and doesn’t hold together, add more flour, small amount at a time, kneading the dough after each addition. Add until you reach the right consistency.
- Divide the dough into 8 -10 even pieces , use a scale to make it precise. Lightly flour the working surface, or use baking mat and roll out each piece on it. Roll each piece into a large round circle, it should be big enough so you can cut out a perfect circle later.
- Place a mat with a circle on it on a baking sheet, or line baking sheet with parchment paper and transfer the circle carefully using the rolling pin.
- Bake each circle for about 5-7 minutes, until it is golden brown.
- While one circle is baking, roll out another circle, so it’s ready to be baked once the previous circle is taken out of the oven, this will speed up the baking process significantly. When each circle is baked, using a plate or a lid as a stencil, cut out a perfect circle. Save all the cake trimmings for decorating. Allow cakes to cool off completely before frosting.
- To make the cream cheese frosting:
- Add softened cream cheese , whipping cream and powdered sugar into a bowl of a stand mixer and using the whisk, beat the cream on medium until light and fluffy, it should take about 3 to 5 minutes.
- Refrigerate for up to 2 hrs if not used right away.
- To make sour cream frosting :
- Add sour cream, granulated sugar and vanilla into a bowl of a stand mixer and using the whisk, beat the cream on medium until sugar crystals are dissolved , it should take about 2 minutes.
- To assemble the cake:
- Frost first cake layer with a frosting of your choice and stack another on top. Repeat the process until all the layers are frosted stacked. Frost the outside of the cake with the remaining cake cream.
- Turn the trimmings into the crumbs, don’t make the crumbs super fine, leave bigger chunks, they don’t need to be perfect size. Decorate the sides of the cake with the crumbs, use them to decorate the top if there’s extra.
- Let the cake rest in the refrigerator overnight. Before slicing, allow the cake to sit on the counter top for about 30 minutes. Enjoy!
